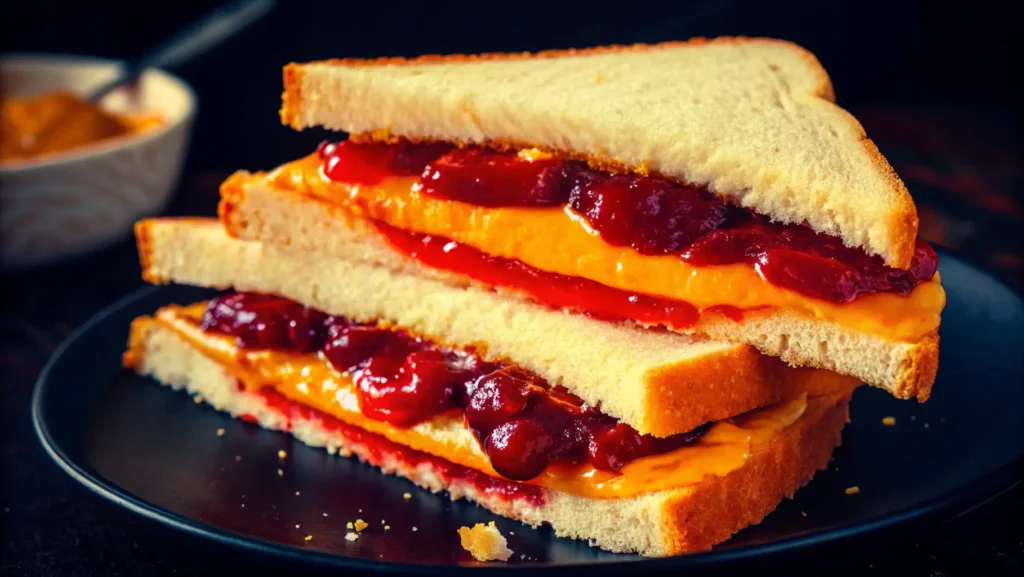
Peanut butter and jelly sandwiches (PB&J) are a beloved staple in American culture. They are easy to prepare, delicious, and versatile, making them a favorite for kids and adults alike. Whether you’re a sandwich newbie or looking for the perfect PB&J recipe, this guide will walk you through the process step by step. But first, let’s dive into the history of this classic treat and explore its cultural significance in the United States.
The History of the Peanut Butter and Jelly Sandwich
The peanut butter and jelly sandwich has humble beginnings, but it quickly became a cultural phenomenon.
- Early Days of Peanut Butter: Peanut butter was first introduced in the late 19th century as a protein-rich food for people who had difficulty chewing. By the early 1900s, it became more affordable and widely available thanks to industrial production.
- Jelly Joins the Party: Jelly, or fruit preserves, has been a common food for centuries. However, it wasn’t paired with peanut butter until the 1900s.
- The Birth of PB&J: The first known recipe for a peanut butter and jelly sandwich appeared in a 1901 issue of the Boston Cooking School Magazine of Culinary Science and Domestic Economics. It described spreading peanut butter on bread and topping it with jelly as a delightful combination.
- World War II Influence: The sandwich gained immense popularity during World War II, as both peanut butter and jelly were included in rations for American soldiers. It was easy to make, non-perishable, and packed with nutrients.
Americans and the Peanut Butter and Jelly Sandwich
In the United States, the PB&J sandwich is more than just food—it’s an icon.
- A Childhood Staple: For generations, the PB&J has been a lunchbox favorite for schoolchildren. Its simplicity and balance of flavors make it a reliable choice for parents.
- Cultural Symbol: It represents comfort, nostalgia, and American culinary ingenuity. Many Americans fondly recall childhood memories of enjoying a PB&J after school or during family outings.
- Economic and Nutritional Value: Peanut butter and jelly sandwiches are affordable, making them a go-to option for families on a budget. Additionally, they provide a good balance of protein, healthy fats, and carbs, making them a satisfying meal or snack.
Now that you know the history and cultural significance of this iconic sandwich, let’s move on to making your own perfect peanut butter and jelly sandwich step by step!
Step-by-Step Guide to Making a Peanut Butter and Jelly Sandwich
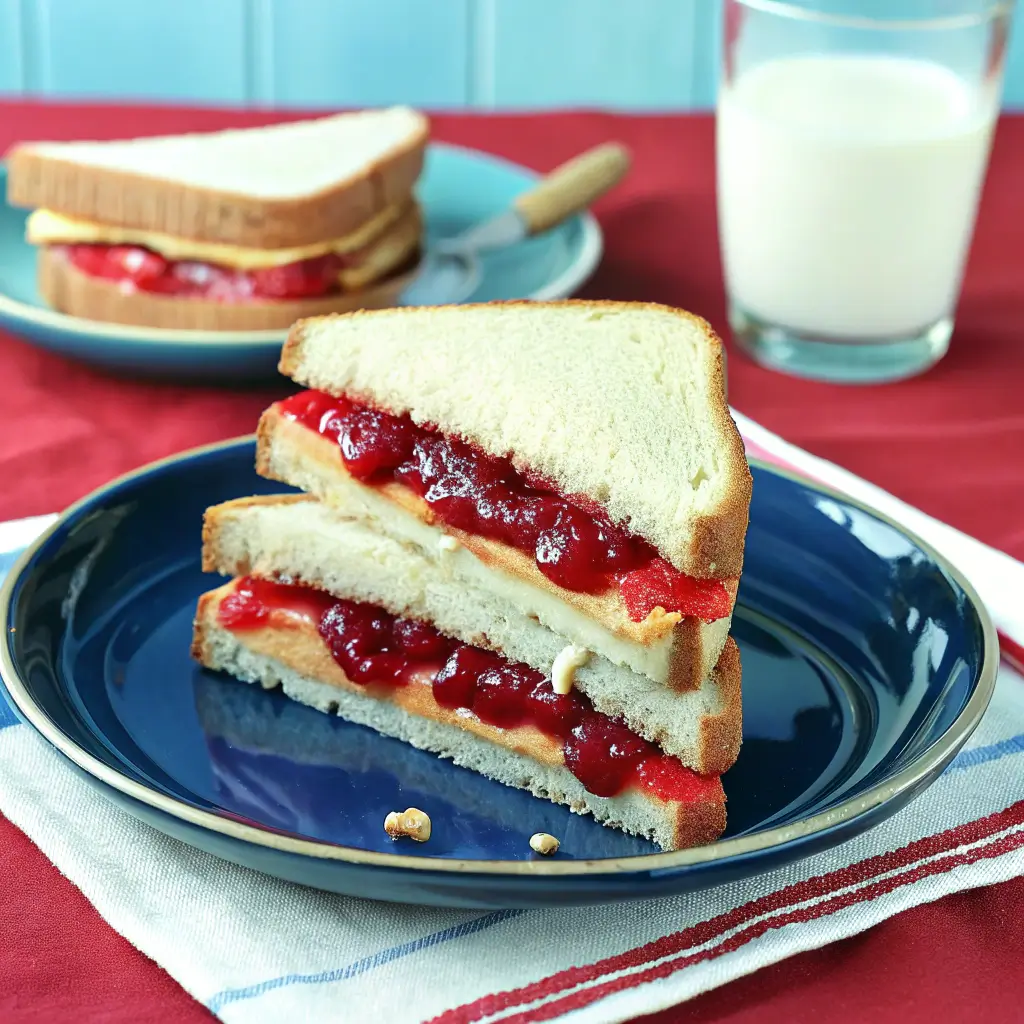
Ingredients You’ll Need
Before you start, gather the following ingredients:
- Bread: Two slices of your favorite type—white, whole wheat, sourdough, or gluten-free.
- Peanut Butter: Choose smooth or chunky, depending on your preference. Nut alternatives like almond or cashew butter can also work.
- Jelly or Jam: Classic options include grape or strawberry, but feel free to explore raspberry, apricot, or mixed fruit.
Step 1: Prepare Your Workspace
Ensure your countertop or table is clean. Lay out the ingredients and utensils:
- A butter knife for spreading.
- A spoon (optional, for scooping jelly).
- A plate to assemble your sandwich.
Step 2: Spread the Peanut Butter
- Place one slice of bread on the plate.
- Use a butter knife to scoop approximately two tablespoons of peanut butter.
- Spread the peanut butter evenly over the slice, covering the surface all the way to the edges for consistent flavor.
Pro Tip: If you prefer a thicker sandwich, add a little more peanut butter.
Step 3: Spread the Jelly
- Take the second slice of bread.
- Use the same butter knife or a clean spoon to scoop two tablespoons of jelly.
- Spread the jelly evenly across the slice, ensuring it reaches the edges to avoid dry bites.
Step 4: Combine the Slices
- Carefully place the jelly-covered slice on top of the peanut butter slice, with the jelly side facing the peanut butter.
- Gently press the slices together to secure the sandwich.
Step 5: Slice and Serve
- For a classic presentation, use a sharp knife to cut the sandwich diagonally into two triangles.
- Serve on a plate and enjoy immediately, or pack it for later.
Variations to Try
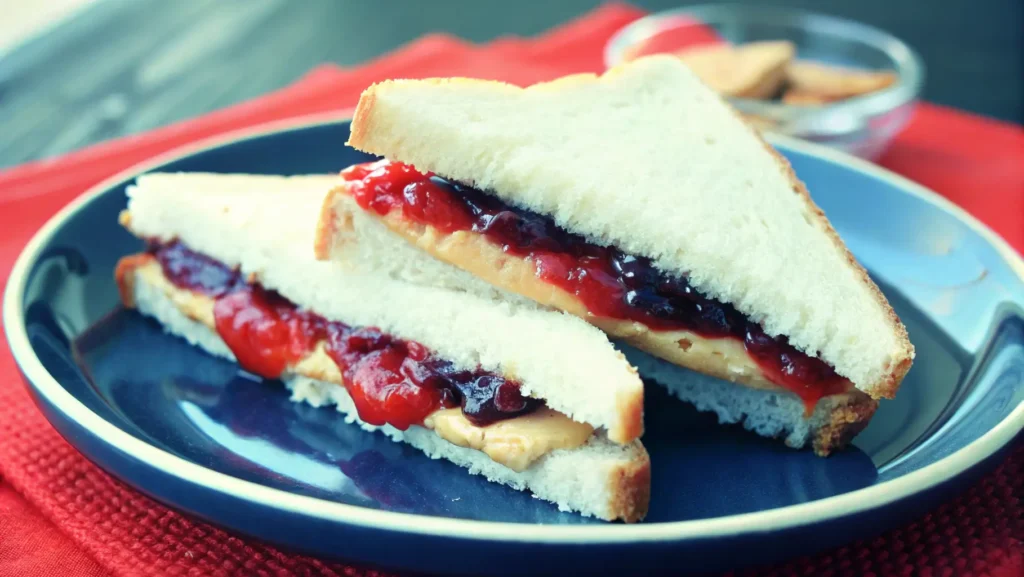
PB&J sandwiches can be customized in countless ways to suit your taste. Here are some creative recipes you can try:
1. Toasted Peanut Butter and Jelly Delight
- Ingredients:
- 2 slices of bread (your choice)
- 2 tablespoons peanut butter
- 2 tablespoons jelly (any flavor)
- Butter or margarine (optional)
- Instructions:
- Spread peanut butter on one slice of bread and jelly on the other.
- Combine the slices to form a sandwich.
- Lightly butter the outer sides of the sandwich.
- Heat a skillet over medium heat and toast the sandwich on both sides until golden brown and crispy.
- Serve warm for a gooey, crunchy treat.
2. PB&J with Fresh Fruit Layers
- Ingredients:
- 2 slices of whole-grain bread
- 2 tablespoons peanut butter
- 1 tablespoon jelly (any flavor)
- 1 banana, sliced into rounds (or 4-5 strawberries, sliced)
- Instructions:
- Spread peanut butter on one slice of bread.
- Spread jelly on the other slice.
- Layer banana or strawberry slices on the peanut butter side.
- Top with the jelly-covered slice.
- Cut in half and enjoy the fresh, fruity twist.
3. Honey and Peanut Butter Bliss
- Ingredients:
- 2 slices of whole-grain bread
- 2 tablespoons peanut butter
- 1 tablespoon honey
- Instructions:
- Spread peanut butter on one slice of bread.
- Drizzle honey over the peanut butter.
- Place the second slice of bread on top to complete the sandwich.
- For added crunch, toast the sandwich before serving.
4. Nutella and Peanut Butter Swirl
- Ingredients:
- 2 slices of white bread
- 1 tablespoon peanut butter
- 1 tablespoon Nutella
- Instructions:
- Spread peanut butter on one slice of bread.
- Spread Nutella on the other slice.
- Combine the slices to create a rich, indulgent sandwich.
- For a warm treat, toast the sandwich lightly.
5. Gourmet Peanut Butter and Jelly
- Ingredients:
- 2 slices of seeded or artisan bread
- 2 tablespoons peanut butter
- 2 tablespoons strawberry or raspberry jelly
- 1 teaspoon chia seeds
- 1 tablespoon crushed nuts (almonds or walnuts)
- Drizzle of maple syrup
- Instructions:
- Spread peanut butter on one slice of bread and jelly on the other.
- Sprinkle chia seeds and crushed nuts over the peanut butter.
- Drizzle maple syrup lightly over the jelly.
- Combine the slices for a flavorful and textured sandwich.
These variations add unique twists to the classic PB&J sandwich, allowing you to explore new flavors and textures while keeping the simplicity intact. Try one—or all—of these recipes for a delightful twist on tradition!
FAQs About Peanut Butter and Jelly Sandwiches
1. Can I use any type of bread for a PB&J sandwich?
Absolutely! While white and whole-grain bread are traditional choices, you can use any bread you like, such as sourdough, rye, multigrain, or even gluten-free options. For a healthier twist, opt for bread with whole grains and fewer additives.
2. What are the best peanut butter and jelly combinations?
The classic pairing of creamy peanut butter and grape jelly is a favorite, but feel free to mix it up. Try crunchy peanut butter with strawberry jam, almond butter with raspberry preserves, or even sunflower seed butter with blueberry jam for a unique flavor experience.
3. How can I make a PB&J sandwich healthier?
To make a healthier version, use whole-grain or low-calorie bread, natural peanut butter with no added sugar, and a jelly or jam that is low in sugar or made from fresh fruit. Adding fresh fruits like banana or strawberries can also boost its nutritional value.
4. Can I prepare PB&J sandwiches ahead of time?
Yes, you can prepare them in advance. To prevent the bread from getting soggy, spread peanut butter on both slices of bread and place the jelly in the center. Store the sandwich in an airtight container or wrap it in plastic wrap. They can last for up to 24 hours in the refrigerator.
5. Are there allergy-friendly alternatives to peanut butter?
Absolutely! For those with peanut allergies, you can use almond butter, cashew butter, sunflower seed butter, or soy nut butter. Be sure to check the jelly for any cross-contamination if allergies are a concern.
Conclusion
Making a peanut butter and jelly sandwich is more than just assembling ingredients—it’s participating in a piece of culinary history. This simple yet satisfying treat has stood the test of time and remains a beloved favorite. With its versatility and rich flavors, there’s no wrong way to enjoy a PB&J. So grab your ingredients, follow these steps, and enjoy a timeless classic!
